

In this article, we’re going to look at how you can use your Bitnob virtual dollar card to pay for Starlink in Nigeria.
Starlink is officially available in Nigeria. Starlink is a satellite-based internet service provided by SpaceX, founded by Elon Musk. The service aims to provide high-speed internet access to remote and rural areas where traditional broadband connections are not available. Starlink has been in public beta testing since 2020 and is currently expanding its coverage area.
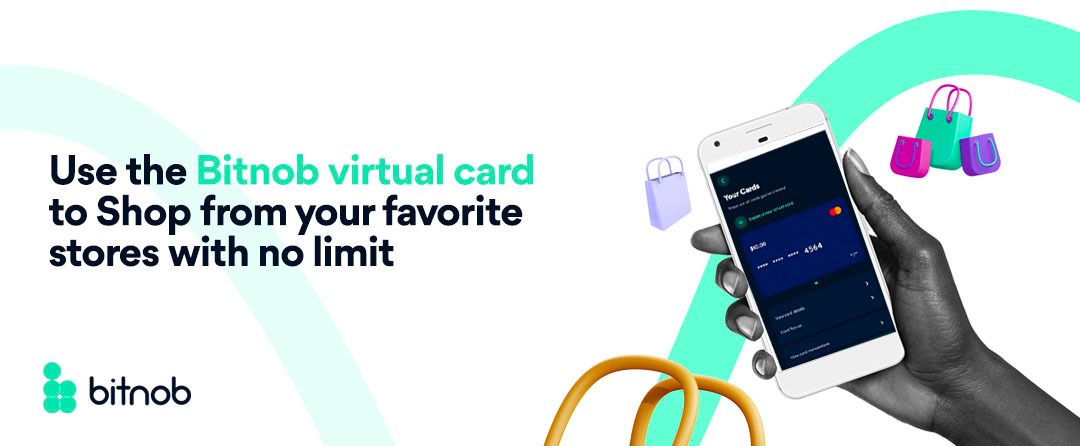
In this article, we’re going to look at how you can use your Bitnob virtual dollar card to pay for Starlink.
How to create a Bitnob virtual dollar card
Before paying for Starlink, you have to first create your Bitnob virtual dollar card. If you don’t have the Bitnob app yet, you can click here to download the app and complete your verification.
Once you’ve downloaded the Bitnob app and you’ve completed your verification here’s how to create a dollar virtual card:
- Tap on “Cards” on the Quick links section of the homepage
- Click on “Create Card”
- If you’ve not done your KYC, you’ll be requested to complete your KYC.
- Give your card a name.
- Enter the amount you want to fund your card with then tap on “Next”. You can top up a minimum of $3 and a maximum of $5000.
- Personalize your card then tap on ‘Next - Confirm your transaction pin’
- Enter your transaction pin
Voila! You’ve successfully created your virtual dollar card and funded it. It’s now all set and ready to use.
How to pay for Starlink with your Bitnob virtual card
Now to the fun part — paying for your Starlink with your Bitnob virtual card.
Step 1: Make sure you have enough money in your Bitnob virtual card to pay for Starlink.
This is an important step. You want to make sure that you have enough money on your Bitnob virtual dollar card to cover the cost of Starlink. When you want to pay for Starlink you need to factor in the hardware and the subscription for Starlink.
To get the exact figure you’ll be paying for Starlink, you have to put your address in the Starlink website to check if Starlink is available in your area.
In the search box put in your address and click on “Order Now”. Next, scroll down to see the exact figure you have to pay for your Starlink.
Step 2: Sign up for the service
To sign up for Starlink, you need to go to the Starlink website and select the option to sign up. When you scroll up, you’ll be prompted to enter your personal and billing information, including your name, address, and email address. Make sure you provide accurate and up-to-date information to avoid any delays in processing your payment.
Step 3: Enter your billing information and select your payment method
Once you have entered your personal and billing information, you will need to select your payment method. You can choose to pay with a virtual card, credit card, or debit card. Since you’ll be paying with the Bitnob virtual card choose virtual card and enter the card number, expiration date, and CVV code.
Step 4: Review the total cost and make sure your virtual card has enough funds
Before you complete the payment process, you need to review the total cost of the service and any applicable taxes or fees. Starlink offers various packages, and the cost will depend on the package you select. Make sure your virtual card has enough funds to cover the full amount, including any taxes or fees.
If the amount you have in your Bitnob virtual card is not enough, here’s how to top-up your card:
- Tap on “Cards” on the Quick links section of the homepage
- Select the card you want to top up.
- Tap on “Top Up Card”
- Enter the amount you want to top up your card with. You can top up a minimum of $3 and a maximum of $5,000.
- Tap on ‘Proceed’
- Enter your transaction pin, the tap on “Top Up Card”.
Just like that, you’ve successfully topped up your card.
It’s important to note that you’ll be charged $1 for an amount lesser than $100 and 1% for an amount above $99, to top up your card.
Step 5: Complete the payment process
Once you have reviewed the total cost, you can complete the payment by entering the necessary information for your virtual card. This includes the card number, expiration date, and CVV code. The payment process is secure and encrypted, and your personal and financial information is protected.
Step 6: Confirm your order and receive your receipt
Once the payment is processed and confirmed, you should receive a confirmation of your order and a receipt for the payment. Make sure you keep the receipt for your records. You should also receive an email confirmation of your order and payment.
Ready to order Starlink with your Bitnob virtual card?
Paying for Starlink with a virtual card is a quick and easy process. By following the six steps above, you can sign up for the service and start enjoying high-speed internet access in no time. The Bitnob virtual card makes paying for services like Starlink convenient and secure.
If you’ve not created your own Bitnob virtual dollar card, click here to get yours and enjoy an incredible shopping experience with Bitnob and freedom from bank restrictions.
And if you’ve paid for Starlink with your Bitnob virtual card share your Bitnob referral code with friends and family, and we’ll send you a reward to say ‘thank you’.